North Americans are increasingly health-conscious, and goat milk products are considered a healthier alternative to cow’s milk for some individuals. Goat milk is easier to digest than cow’s milk due to its lower lactose content and different protein structure. It is often sought after by individuals with lactose intolerance or allergies to cow’s milk proteins. North America hosts numerous food festivals and farmers markets that celebrate local food and showcase artisanal products, including goat milk products. These events provide opportunities for consumers to sample and learn about different goat milk products, fostering a deeper appreciation for the taste, quality, and craftsmanship of these products. North America’s culinary landscape is known for its innovation and willingness to experiment with new flavors and ingredients. This creativity extends to the use of goat milk products in various dishes. Chefs and home cooks alike have been incorporating goat milk products into innovative recipes, exploring unique flavor combinations, and pushing the boundaries of traditional cuisine. In addition to culinary uses, goat milk products are also sought after for their potential health and beauty benefits. Goat milk is known for its moisturizing and nourishing properties, and it is often used in skincare products, soaps, and beauty treatments. Consumers interested in natural and organic personal care products embrace goat milk-based options. Many farms that produce goat milk products in North America welcome visitors for farm tours, educational experiences, and agritourism activities. These visits offer an opportunity to learn about goat farming, milking processes, and the production of goat milk products. It allows consumers to connect with the source of their food and gain a deeper appreciation for the efforts involved in producing goat milk products.
According to the research report North America Goat Milk Product Market Outlook, 2028 the North America Goat Milk Product market was valued at USD 1.87 Billion in 2022. There is a growing trend towards healthier food choices and a greater emphasis on nutrition and wellness. Goat milk products are perceived as a healthier alternative to cow’s milk for certain individuals due to their lower lactose content and different protein structure. They are sought after by those with lactose intolerance, digestive sensitivities, or allergies to cow’s milk. The multicultural nature of North America has introduced diverse culinary traditions and flavors to the region. Goat milk products are widely used in various ethnic cuisines, including Mediterranean, Middle Eastern, and Hispanic cuisines. The influence of these cultural and culinary traditions has expanded the market for goat milk products, as consumers seek to explore and incorporate new flavors into their diets. The increasing popularity of vegan and plant-based diets has positively impacted the demand for goat milk alternatives. Goat milk products, such as plant-based goat milk alternatives or goat milk-based dairy alternatives like yogurt or cheese, cater to consumers seeking non-dairy options that resemble the taste and texture of traditional dairy products. Celebrity chefs, influencers, and wellness advocates have played a role in promoting goat milk products. Endorsements and recommendations from well-known figures in the culinary and health industry have increased consumer awareness and generated interest in goat milk products. Their influence helps shape consumer perceptions and drives demand in the market.
The market is segmented into three major countries including United States, Canada and Mexico. Among them, United States is leading the North America goat milk product market in 2022 with more than 75% market share. In recent years, there has been a growing consumer demand for alternative dairy products, including goat milk products. Factors such as lactose intolerance, dietary preferences, and perceived health benefits have driven the increased interest in goat milk products. The United States, with its diverse and health-conscious population, has experienced significant growth in the demand for goat milk products. American consumers are increasingly seeking natural and niche food products, including goat milk products. There is a growing interest in locally sourced, artisanal, and specialty food items. Goat milk products, with their distinct flavors and production methods, fit into this preference for natural, local, and unique offerings, further driving their market leadership. In addition, Canada’s vast geography and diverse agricultural regions contribute to the regional diversity of goat milk products. Different provinces have their own unique goat milk products and culinary traditions. For example, Quebec is renowned for its artisanal goat cheeses, while British Columbia is known for its goat milk ice cream and gelato. Canada is known for its delicious goat milk gelato, which offers a creamy and rich frozen treat. Goat milk gelato is made with fresh goat milk and is available in a variety of flavors, providing a unique twist on traditional gelato.
Countries Covered in the research:
- United States
- Canada
- Mexico
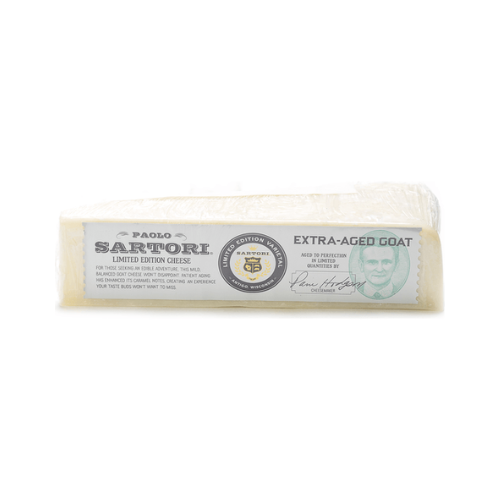
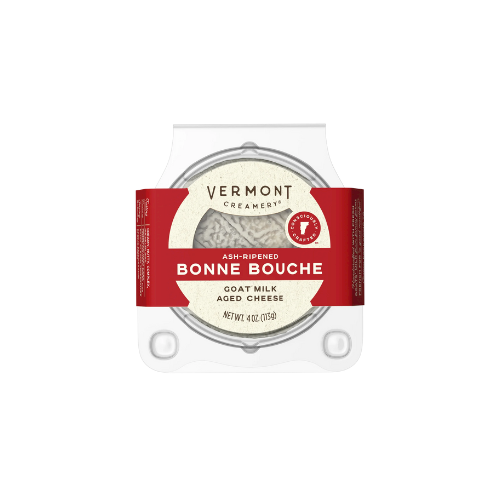
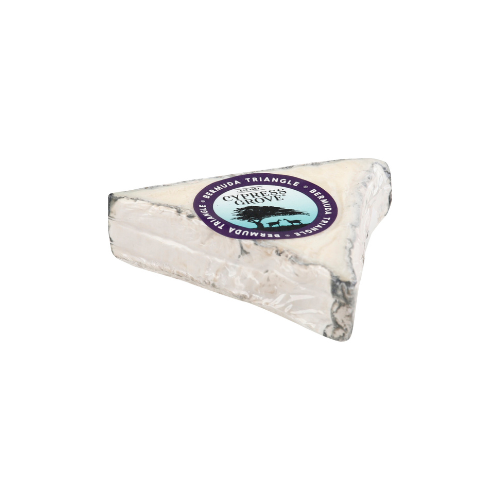
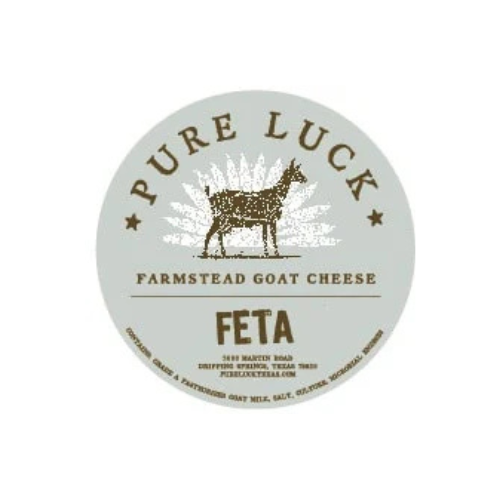
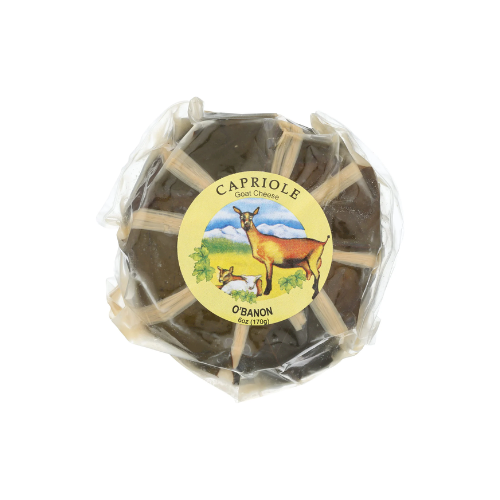
Based on the research, the market is segmented into various product types, including Goat Cheese (Fresh Goat Cheese, Aged Goat Cheese, Flavored Goat Cheese, etc.), goat milk powder (skimmed milk powder, Full Cream Milk Powder), Goat Yogurt (set-style Yogurt, Swiss-style Yogurt), Butter, and others (ice cream, cajeta). Among them, the goat cheese segment is expected to dominate with a market share of more than 40%. North American consumers have developed a taste for gourmet and artisanal food products, and goat cheese fits into this trend. Its unique flavor profile and versatility make it a favorite among chefs, food enthusiasts, and culinary explorers. The North American market appreciates the complexity and sophistication that goat cheese brings to various dishes, both in traditional recipes and innovative culinary creations. Goat cheese offers exceptional versatility in culinary applications. It can be used in a wide range of dishes, including salads, pasta, pizzas, sandwiches, and appetizers. The creamy texture and tangy flavor of goat cheese add a unique and distinct taste to recipes, making it a favored choice among North American consumers seeking to enhance the flavor profile of their dishes. Several types of goat milk cheese are popular in North America, including fresh goat cheese, aged Goat Cheese, flavored goat cheese, goat cheese logs and Rolls, Feta-Style Goat Cheese, and Buchette. In addition, the Others segment, which includes products such as goat milk ice cream and cajeta, is expected to have the highest CAGR in the North American goat milk product market. There is a growing consumer trend towards dairy alternatives, driven by factors such as lactose intolerance, dietary preferences, and health concerns. Goat milk-based products, including ice cream and cajeta (a caramel-like sauce), offer alternatives to traditional cow’s milk-based desserts and toppings, catering to individuals seeking non-dairy options. For instance, some popular brands that offer goat milk-based products in North America include Laloo’s Goat Milk Ice Cream, Mt. Capra, G.O.A.T. Milk Ice Cream, Meyenberg, Udderly Cool, and more.
By Product Type:
- Goat Cheese (Fresh Goat Cheese, Aged Goat Cheese, Flavored Goat Cheese, Others)
- Goat Milk Powder (Skimmed milk Powder, Full Cream Milk Powder)
- Goat Yogurt (Set-style Yogurt, Swiss-style Yogurt)
- Butter
- Others (ice cream, cajeta)
Based on form, the liquid segment is expected to have the highest market share in the North American goat milk product market. Liquid goat milk products, such as bottled goat milk or goat milk beverages, offer convenience and versatility to consumers. They can be consumed directly or used as an ingredient in various recipes, including smoothies, coffee, baked goods, and other culinary creations. The ease of consumption and application make liquid goat milk products appealing to a wide range of consumers. Liquid goat milk products retain the nutritional benefits of goat milk, which is known for its rich nutrient profile. Goat milk is a good source of protein, calcium, vitamins, and minerals. Consumers who prioritize a nutrient-dense diet are attracted to liquid goat milk products as a way to incorporate these beneficial nutrients into their daily routines. In addition, Solid form segment is expected to the highest CAGR during the forecast Period. Solid goat milk products, such as certain types of goat cheese, are often preferred by individuals with lactose intolerance or sensitivities to cow’s milk proteins. The lower lactose content and different protein structure of goat milk make solid goat milk products more easily digestible for some people. As a result, consumers seeking dairy alternatives or specialized dietary options turn to solid goat milk products.
Hypermarkets and supermarkets offer a wide selection of products, including goat milk and goat milk-based products. These retailers typically have dedicated dairy sections where consumers can find various brands and types of goat milk products. The extensive product range available in hypermarkets and supermarkets makes them convenient one-stop destinations for consumers to fulfill their grocery needs, including goat milk products. Hypermarkets and supermarkets have well-established supplier networks, including partnerships with dairy producers and manufacturers. These networks ensure a consistent supply of goat milk products to meet consumer demand. As a result, hypermarkets and supermarkets can maintain a diverse range of goat milk products on their shelves, including different brands, flavors, and varieties. For instance, Some popular hypermarket and supermarket chains in North America that carry goat milk products include Walmart, Costco, Kroger, Safeway, Whole Foods Market, Publix, Target, Albertsons, H-E-B, Meijer. In addition, online shopping offers convenience and accessibility to consumers. With the rise of e-commerce platforms and dedicated online retailers, consumers can conveniently browse and purchase goat milk products from the comfort of their homes. Online platforms provide 24/7 accessibility, allowing consumers to shop at their preferred time and location. For instance, some popular online platforms and retailers that offer goat milk products in North America include Amazon, Walmart Online, Thrive Market, FreshDirect, iHerb, Vitacost, Instacart, Goat Milk Stuff, Etsy.
The American Dairy Goat Association (ADGA) is a national organization in the United States that represents dairy goat breeders, owners, and enthusiasts. They provide information and resources on goat breeding, milk production, and the promotion of dairy goat products. The ADGA also conducts dairy goat shows and maintains breed registries. Furthermore, the Canadian Goat Society (CGS) is the official registry and breed association for purebred goats in Canada. They work to promote and improve the breeding, raising, and marketing of goats in Canada. The CGS provides information on breed standards, shows, and events and supports the development of the goat milk industry in Canada. Moreover, the National Kiko Registry (NKR) is a registry and association dedicated to promoting and preserving the Kiko breed of meat goats in North America. While focused primarily on meat production, they also recognize the importance of the dairy aspect of the breed. The NKR provides resources and support to breeders and producers interested in Kiko goats and their dairy potential. In addition, the Dairy Goat Cooperative (DGC) is a cooperative of dairy goat farmers in the United States that specializes in the production, processing, and marketing of goat milk and goat milk products. They work closely with their member farmers to ensure high-quality milk production and support the distribution of goat milk products to various markets.
Companies mentioned in the research:
- Granarolo S.P.A.
- Emmi AG
- Ausnutria Operations B.V
- Royal FrieslandCampina N.V.
- Saputo Inc.
- Delamere Dairy
- HiPP GmbH & Co. Vertrieb KG.
- Arla Foods amba
- Danone S.A.
- Holle baby food GmbH
- Belle Chevre
- Meyenberg Goat Milk
- Summerhill Goat Dairy
- Laura Chenel’s Chevre, Inc.
This research can be useful to industry consultants, manufacturers, suppliers, associations & organizations related to Goat Milk Product industry, government bodies and other stakeholders to align their market-centric strategies. In addition to marketing & presentations, it will also increase competitive knowledge about the industry.